There’s an old axiom in the art world: A good artist is the master of their tools. A great artist is the master of their medium. As filmmakers, one of our mediums is light. Understanding film lighting is essential. No matter how brilliant the performer, no matter how perfect the framing, if the light in your shot isn’t good, then your shot isn’t good. One of the main ingredients of lighting a shot correctly is getting the quality of light correct. So, what does quality mean when you’re talking about light, and how can you control it?
Hard or soft
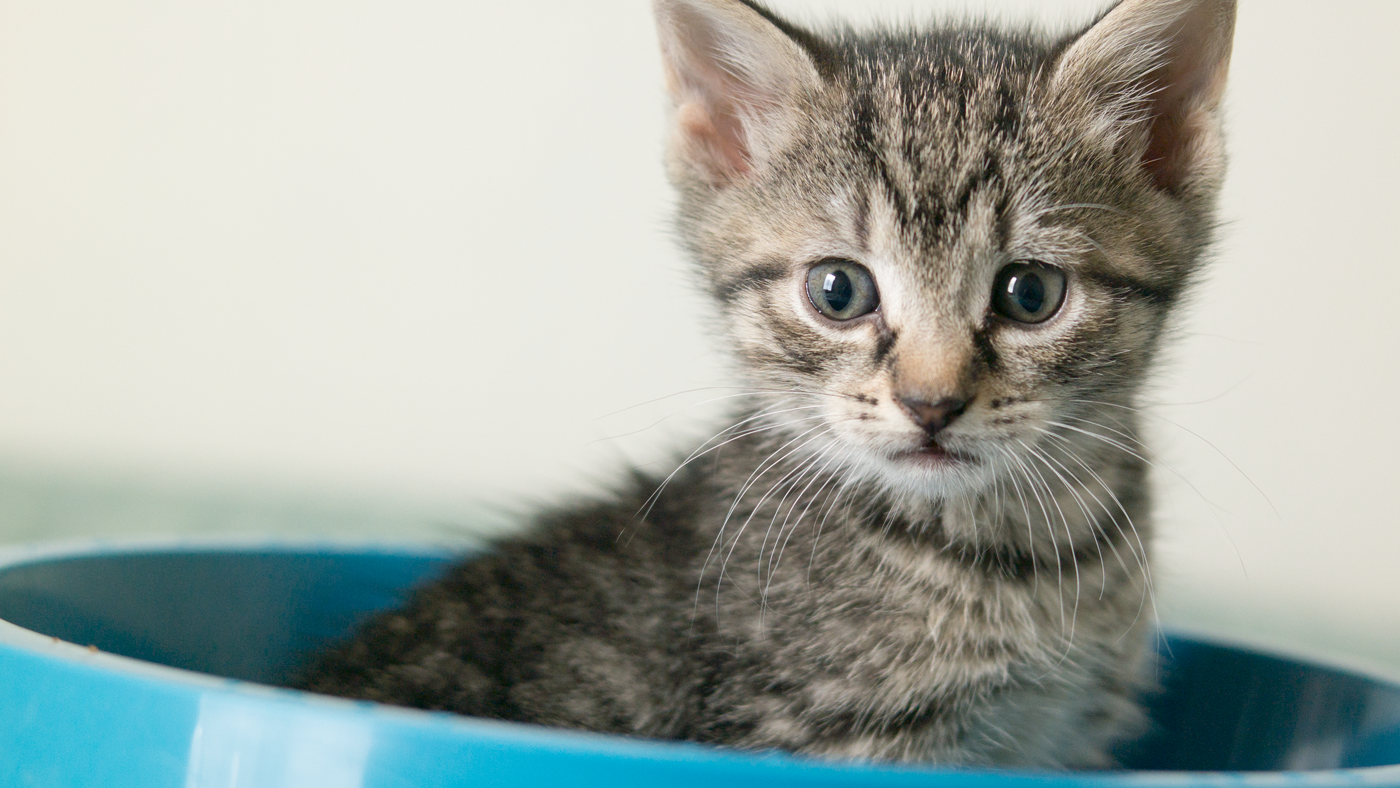
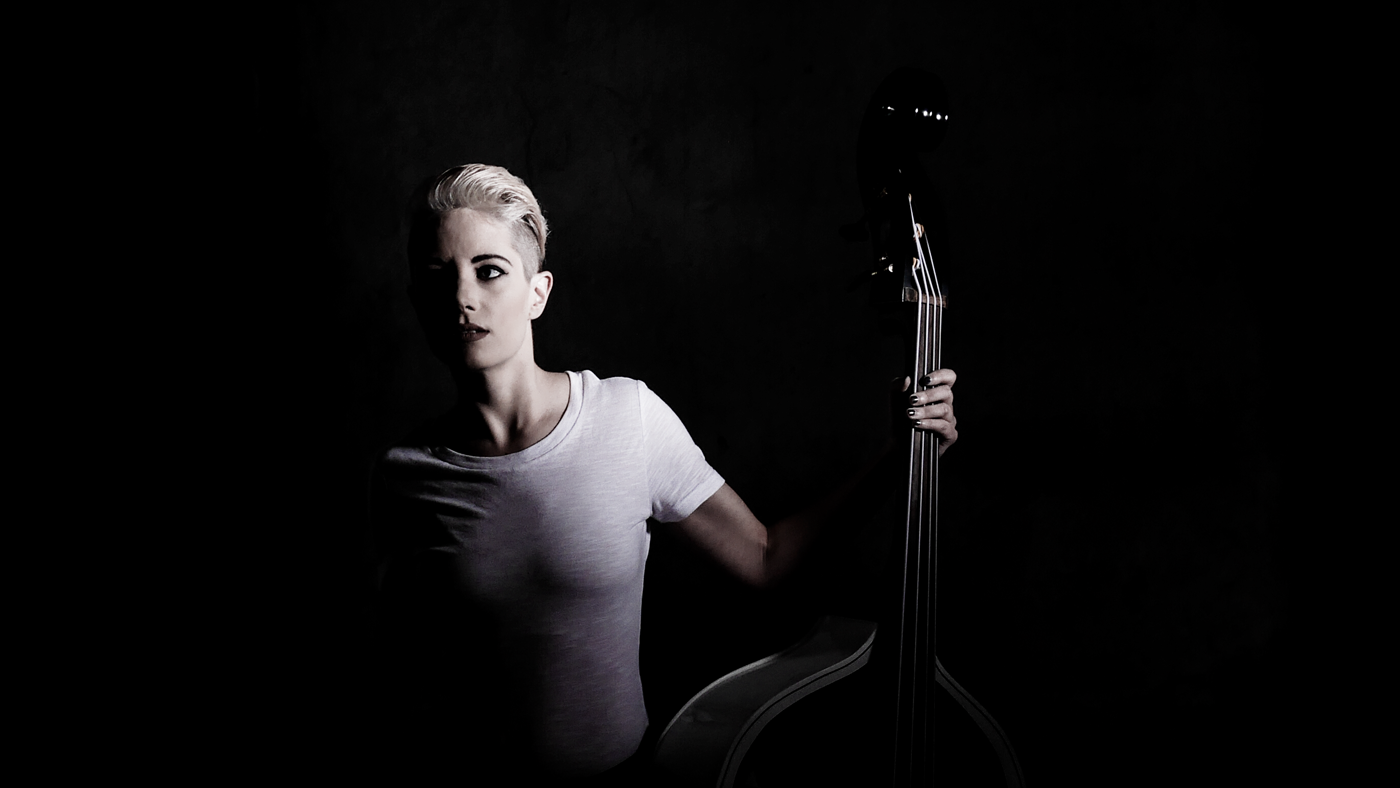
When you talk about light, the quality of light doesn’t refer to good or bad quality. Instead, quality of light is a technical term that refers to whether light is hard or soft. Some people think that hard and soft refer to a light’s intensity and think a hard light is a bright light, and soft light means dim light, but that’s not the case. Hard light casts a hard shadow, creating a clear, sharp border between light and darkness. The opposite, soft light, transitions gradually from light to darkness with no clear border. Neither one is better than the other, but it’s important to know when and how to use each style.


Controlling quality
So how do you control the quality of light? To get the look you want, first it’s important to understand that the smaller the light appears to be to your subject, the harder the light is. In other words, hard light comes from sources that look small. Soft light comes from sources that look large. This can be slightly confusing because it doesn’t matter how large the light is, just how large it appears to be. The sun is very large, but because it’s so far away, it looks as small as a nickel and so casts hard shadows. An oil lantern is much smaller than the sun, but if you put it right up next to your subject, it will cast soft shadows because it looks relatively large from the subjects point of view.
It follows then that to control the quality of light, you need to make a light appear larger or smaller to the subject. The simplest way to do that is to move your light source closer to or farther from your subject, or vice-versa. This isn’t always practical, of course — maybe the room you’re shooting in is too small, or you’re shooting outdoors using natural light. If you can’t change distance, then you must change size. But how do you change the size of a light source? That’s where light modifiers come in.
A light modifier is a device that in some way changes the character of a light source, and many are designed to create the illusion of a light source being larger or smaller than it is.
A light modifier is a device that in some way changes the character of a light source, and many are designed to create the illusion of a light source being larger or smaller than it is. There are literally dozens if not hundreds of different kinds of modifiers, but for light quality purposes you only really need to know three broad categories and if you’re looking for softer shadows, you can safely ignore the third:
Diffusers: If you want to make your light look bigger and softer, you can use a diffuser. The most common diffuser is probably the softbox. Using a softbox makes your light appear to be the size of the box, instead of the size of the bulb. They are easy to use and easy to find in many shapes and sizes. When in doubt, go with a softbox.
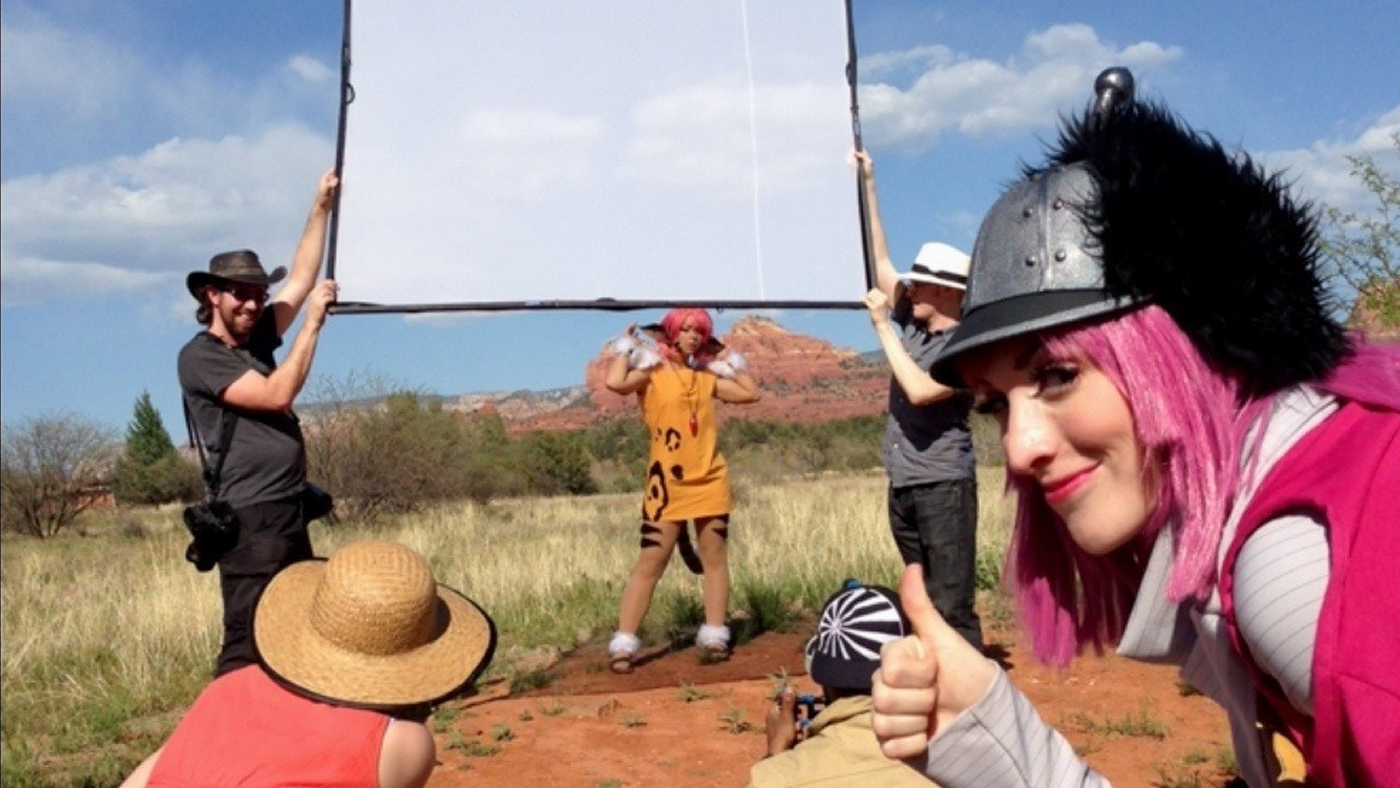
Of course, clouds are nature’s diffuser. An overcast or hazy day can give you some of the softest, most beautiful light you could wish for. If you can’t conjure a cloud on demand, the next best thing is called a diffuser panel, or scrim. Think of the scrim as a portable cloud that softens the light from any source, be it the sun or a studio light.

Reflectors: If a diffuser isn’t the right tool for the job, try reflecting your light off of a big white wall instead. Your light source will appear to be the size of the wall instead of the size of the bulb. This kind of lighting is sometimes called “bounce lighting”. If you don’t have a wall handy, you can bounce your light off of a piece of posterboard in a pinch. You can also buy purpose-built reflectors in various shapes, sizes and colors for all kinds of situations. For example, a beauty dish is a bowl-shaped reflector that creates an especially soft, but still bright and vibrant light that’s often used for modeling close-ups.
Shooting outdoors, you can approximate the effect of a giant reflector even in full daylight by putting your subject into a patch of total shade. The ground outside the shade reflects sunlight onto your subject, acting like a very large, very soft light that still has the character of sunlight, but without the harsh glare.
Narrowers: There are various modifiers you can use to narrow, and therefore shrink, a light source, including grids, snoots and barn doors. Using the right combination of grid and snoot on a regular light can create a harsh spotlight effect, and is much, much cheaper than an actual spotlight. Barn doors are handy because you can adjust them on the fly, which saves a lot of time, but overall they aren’t as effective as snoots and grids for the purposes of narrowing light.
You can read about it all you like, but you won’t really understand how quality of light works until you understand how it makes you feel. Here’s your homework: Go shoot a short scene, like a minute-long monologue, outside in the direct sunlight. Do the same scene again in a shady patch. If you have lights, try it indoors with a single small light, like a flashlight, set up across the room, pointed at your subject. Then try it with the same lighting the same distance away but bouncing off of a wall. How do the shadows look? More importantly, how do they make you feel? Once you understand that feeling and how to replicate it, youâ’re on your way to knowing how to master your medium and light a shot.
Mike VanHelder is a working writer, photographer and videographer in Philadelphia, PA. His favorite light modifier is his trusty shoot-through umbrella.


