“Let’s shoot HD. No, let’s shoot 4K. No, let’s shoot 8K. Cool. Sounds like a plan.” Everybody is now super excited, except you, the editor. You are afraid that your computer will not be able to handle this footage, but you do not want to say anything. How do you solve this problem? TRANSCODE. Let us go over what transcoding is, the different types of codecs, and how to edit on lo-res footage, then re-link to hi-res.
In a race for quality, cameras are holding more and more data. But technology is so developed; you can edit major projects right from your laptop. I have edited music videos for major artists like Big Sean and Bon Jovi, and it is always surreal to see them go from my laptop to TV. But my biggest fear was having clients come over, and I get exposed by my computer lagging. Here is how you solve this issue.
Transcoding is the magical solution
Transcoding means taking the hi-res files and converting them to lo-res files strictly for editing. Once that edit is locked, you replace the lo-res files with the original higher resolution ones, and there you go. To see what to convert these files to, let us talk about the different files you may commonly come across.
File formats
Raw files are the largest format and are appealing because they hold a lot of color information you can adjust even after it is shot. But for editing, you do not need all of that information, and that file size can slow you down. So we can edit off the transcoded version. The RED cameras have their own format, Redcode Raw (R3D).
You may also come across an .MXF file format, which honestly gives me a lot of trouble. So I tend to transcode those as well. So some people will shoot in what is called Apple ProRes instead of Raw. ProRes has multiple versions, with ProRes 4444 being at the top. ProRes422 does not have as much information as ProRes 4444, so you have to be careful of what you are shooting with and how you plan on coloring later.
Blackmagic also has their own format for their cameras called Black Magic Raw. Blackmagic files work well with DaVinci because the same company owns them. But this sometimes gives you issues if you are editing with software other than DaVinci. That is another reason you may want to transcode. If your editing software can handle it, then you do not have to worry about it.
H264 is a file format that a lot of people upload to YouTube and Vimeo. Although it’s a nice sized file to watch and virtually transfer for the final product on the web, the compression is not ideal for delivering to TV or a theater. As a rule of thumb, you generally want to finish your video in as high of quality as possible and convert down when necessary.
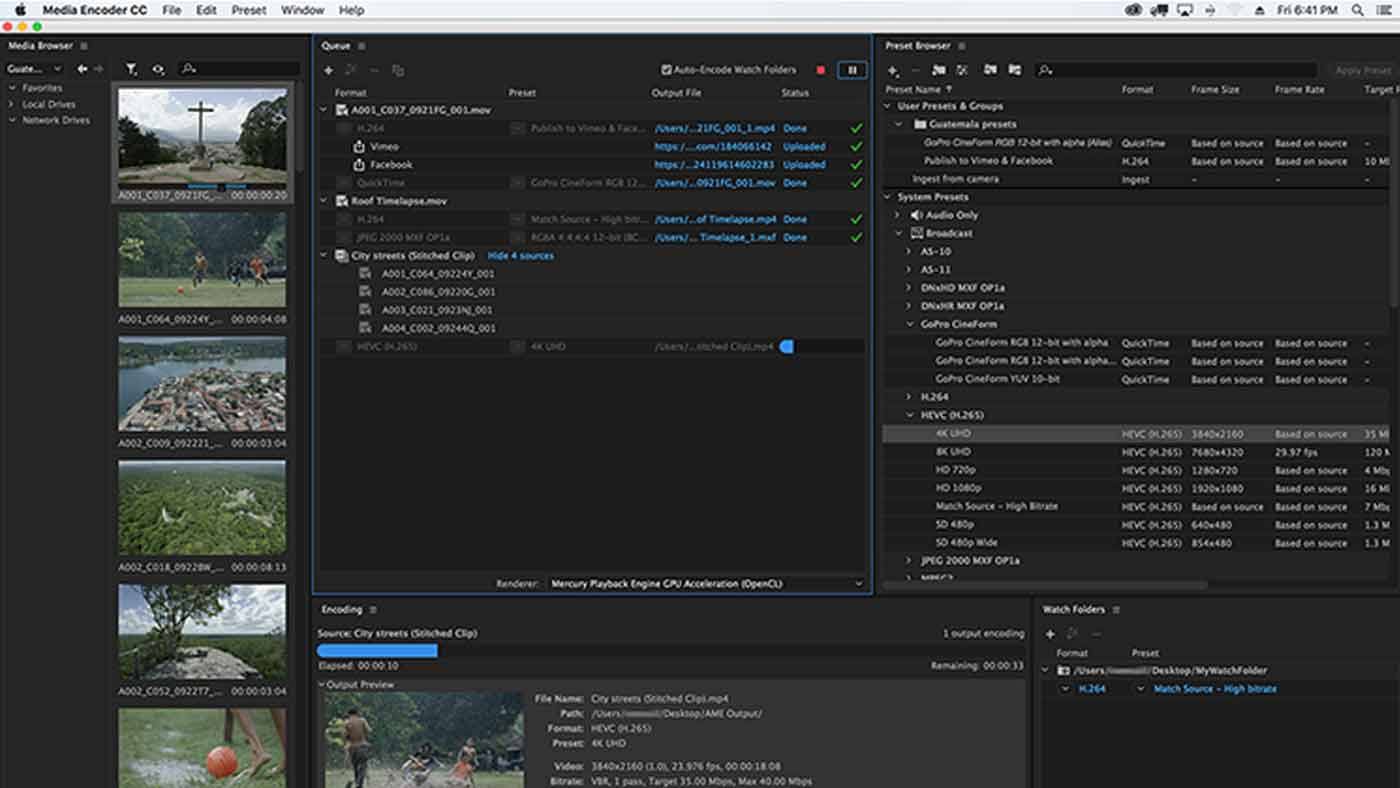
How to transcode
So how do we transcode? I found that Davinci Resolve is usually my go-to for transcoding footage. Because it is a great coloring software, it handles a lot of different formats exceptionally well. I enter all clips into a folder, create a timeline of those clips, then export all the clips. Remember, when transcoding, you have to relink all of your clips back to the hi-res version for color later.
So make sure you change the file size but keep the clips as the same name. This step is super important. That way, when you relink, it knows exactly what clip to relink to. Essentially, after your edit, you are going to tell the software to point to the folder with the hi-res instead of lo-res. If these names are different or if the length of the clips is different, your software is going to be extremely confused, and things will not line up.
Premiere came out with a system of converting to transcoded or “proxy” files, but I have experienced significant issues with it in the past, so I try to avoid it. Adobe Media Encoder is another handy software to use when transcoding. Again, the same rule applies. Make sure to lower the resolution but create a new folder and keep all the clips the same name. RED has its own free software called REDCINE-X. When needing to transcode RED files, I have often used their software as well.
So what do we transcode to? Editing is about staying in the zone and operating quickly. As Robert Rodriguez puts it, he likes to move at the “speed of thought.” So, you do not want any lag when editing. One key factor that editors overlook is where the footage is read from. A lot of producers like to try and save money with cheaper hard drives. However, the lower the quality of the hard drive, the slower the files read on your computer.
Conversely, the better the hard drive, and the better the connection to the computer (usb c over usb 2.0 etc), the faster it reads and the less it lags. For extreme high performance, you can copy the files on your computer and then edit from there. But often, you will not have enough space on your computer to do that. So for this situation, we transcode.
Try some different file formats to see what your computer can handle. I am now working off a Mac Pro, and I often transcode to 1920×1080 ProRes 422 HQ, and I edit out of Premiere. This allows me room if I need to layer clips on top of each other like crazy; I will not see a drop in speed. I often copy the transcoded footage on my G drive, especially if their hard drive is slow.
If your clips are still running slow, in software like Premiere, you can lower the resolution of your playback. I like to keep the playback resolution as high as possible. If 1920×1080 ProRes 422 HQ is still too high, you can try ProRes 422 LT or ProRes 422 Proxy, which are lower-resolution versions. You can also transcode even lower. You can go to 1280×720 ProRes 422 HQ. ProRes is ideal for me because of the quality it still gives you when reviewing. But if needed, you can also edit off of h264.
For a project recently, the editor was overseas, and a producer called me asking how to get the editor this footage. It was shot using Blackmagic Raw. Even after transcoding to ProRes the file size was enormous, and sending it online would have taken forever. So I transcoded to 1920×1080 h264 (using Vimeo Specs) and sent that.
So now you are editing smoothly, no more lagging or skipping. The edit is approved. How do you get it back to high resolution? Often, I color in premiere or prep an edit for another colorist. The first step is to consolidate the timeline. You reduce the timeline until it is one layer or as close to one layer as it can be. Then, you export an XML or EDL (the code that says the in and out points of every clip in the edit). In the coloring software, you import your original high res clips and link them to the XML / EDL you just exported.
The software will take the hi-res clips, apply the in and out points, and order each clip to look just like your edit. Now your edit is there with all high-resolution files. If you are not going through color, and want to handle all of this in Premiere, you can unlink all of your footage, and then relink them to the original files. Keep in mind, if your original clips are a higher resolution, then they may be zoomed in. You will need to adjust your timeline resolution to match. You can do temp color while editing, just so you and the client can get a general feel, but your final color should be done on the highest resolution as possible.
Finishing thoughts
So there you go. When the client comes in for an edit session, now you can zoom through and not have to have the embarrassing look of waiting every 5 seconds for your computer to catch up. And when you are by yourself, you can focus on the speed and creativity, instead of the constant interruptions waiting for the clip to play or trying to see the edit through the continuous skipping.
Special Notes: If you are doing VFX, you want to do those on as high of quality as you can as well without bogging down your computer and render times. If you are going to finish the video at 1920×1080 and you can edit 1920×1080 ProRes 4444 HQ, then you can work in that space as well. Or you can put the VFX transcode in there for a rough VFX pass, then redo them with hi-res later. Just remember the general rule is, edit in a space that you can keep the creative speed and juices flowing, which often require transcoding, and then color and finish in a nice high resolution.


