In a nutshell
- Good transitions help create a seamless move from one shot to the next.
- J-cuts and L-cuts, motion blurs, glitch effects, flicker effects, masking transitions and overlay transitions are versatile and will stay in style.
- Transition can be done either digitally or practically.
In today’s competitive world of video production, enhancing the quality of your video is practically a must. One of the best ways to improve your videos is to use unique and clean transitions. However, not all transitions are made equal. Bad transitions can have the opposite effect.
Let’s take a look at a few transitions that won’t make your videos feel cheesy. But first, let’s determine what constitutes a transition.
What are video transition effects?
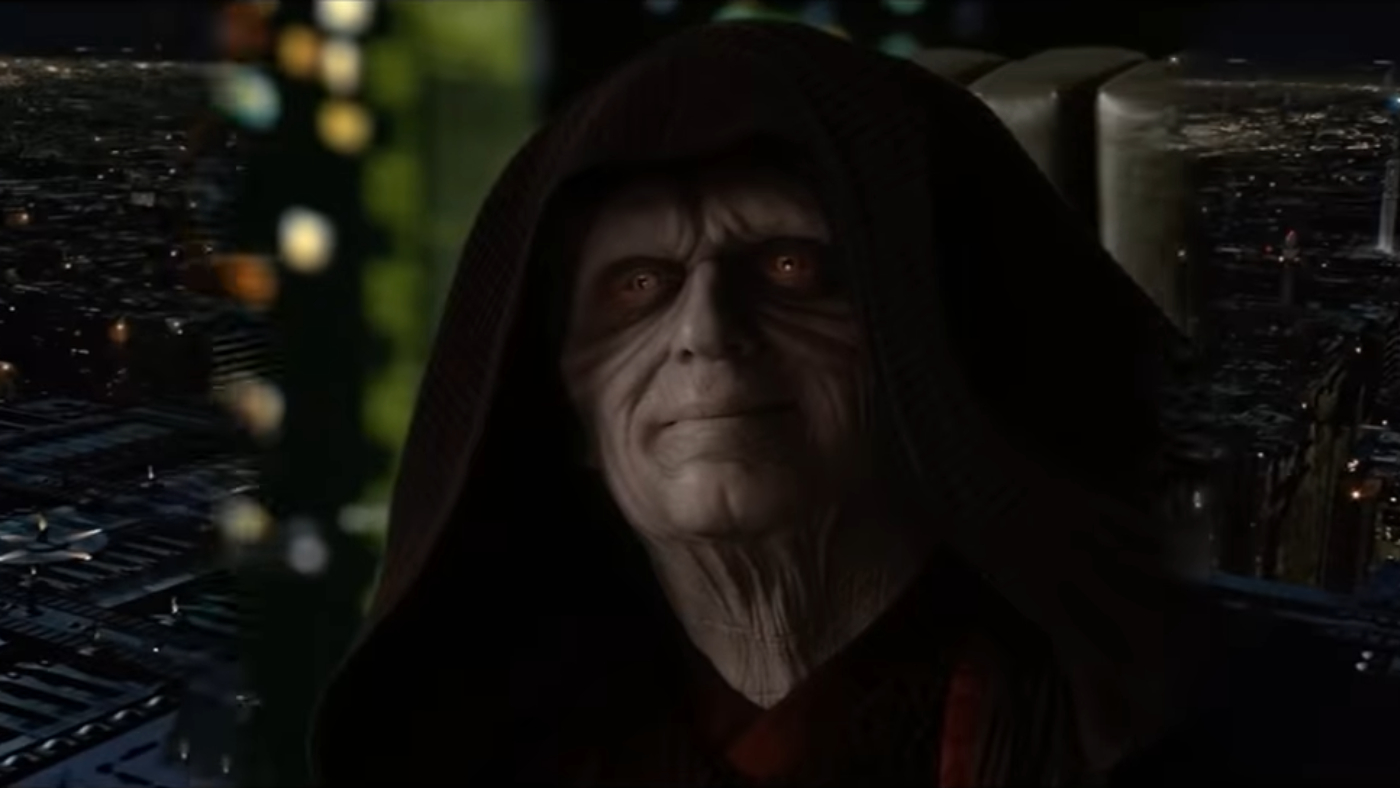
Transition effects allow editors to combine two separate scenes or shots in a film, television or video project. They help create a seamless move from one shot to the next. Most of the time, editors apply transitions in post-production. Transitions can be anything from a fade, like in the scene in “Titanic” (1997) when Rose begins to tell her story, to wipe transitions, as seen in across the “Star Wars” prequels.
Transitions are often created in post-production; however, they are sometimes done both digitally and practically. For instance, a vlogger may apply a fade-to-black transition to the end of a clip where they block the camera with their hand. The sequence then fades into the next part of the vlog, making it appear that the vlogger removed their hand and was suddenly transported to a different place.
Why should you use video transitions?
Transitions have always been used to seamlessly transition between scenes. Sometimes the cut may be simple, like two actors facing each other talking, cutting between both actors with an over-the-shoulder shot or a reverse angle. Other times, the cut may be grand, like cutting away from one location to another location. Many video producers have used transitions for more complex movements as well, such as accentuating or highlighting an intense moment. Bottom line: Transitions are how editors stitch clips together from one scene to the next.
Six video transitions that won’t go out of style
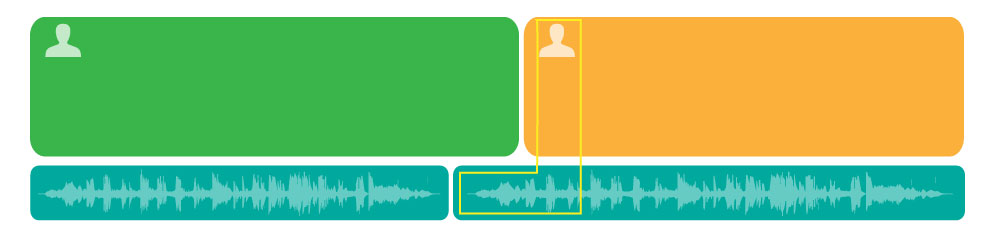
J-cuts and L-cuts
The J-cut and L-cut are two of the most widely used transitions because of their versatility. Filmmakers, TV shows and even online content creators use J-cuts and L-cuts.
To make J-cuts and L-cuts, you need to have two clips with audio. In your editing software, unlink the audio from the video clips. To make a J-cut, pull the beginning of the audio of the second clip out so it overlaps with the first clip. If you want to make an L-cut, do the opposite. Drag the first clip’s audio so it overlaps with the second video clip.
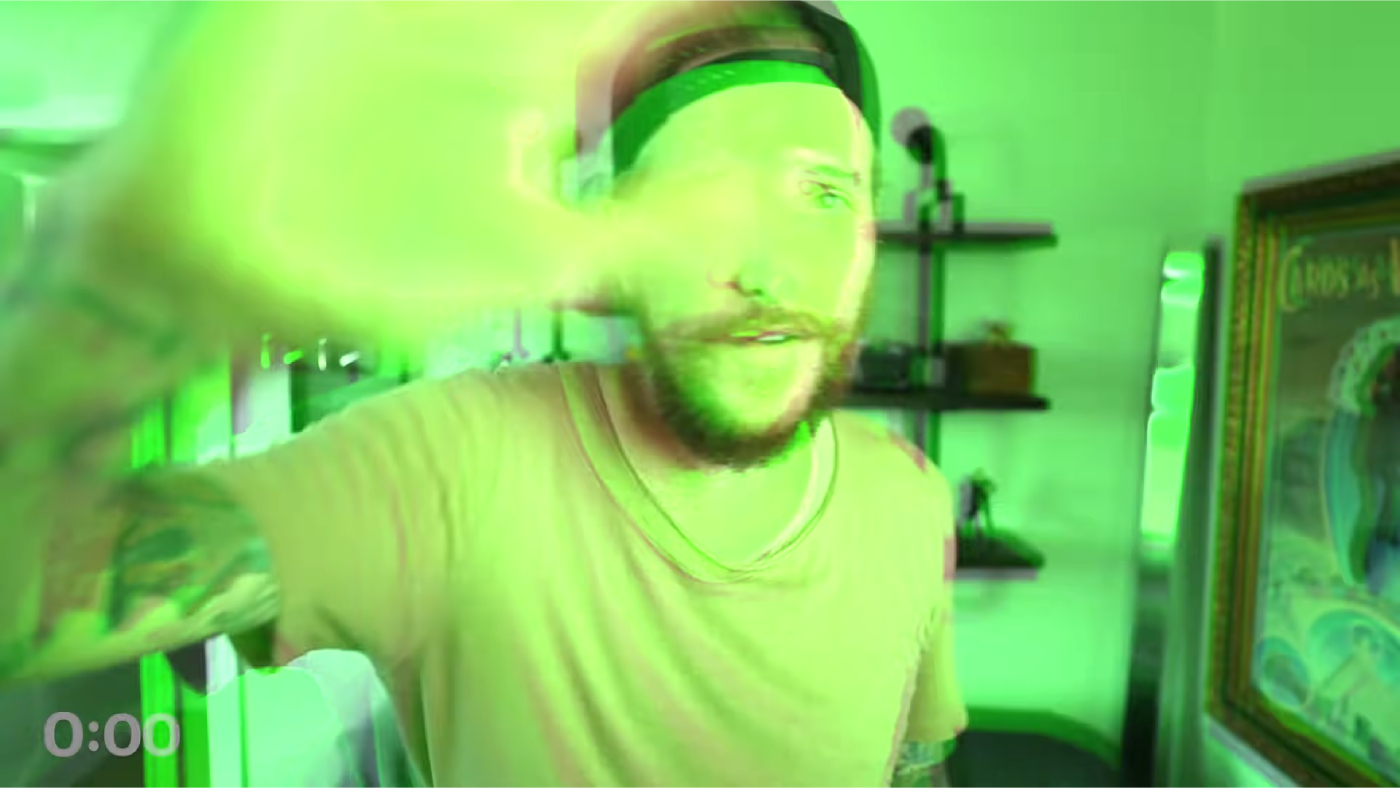
Motion blur
A motion blur effect is a motion effect that blurs an image. Video editors commonly use this effect to give their videos movement. It’s also a clean way to transition action shots.
To add a motion blur effect using Premiere Pro, import your video footage and navigate to the clip where you want to add motion blur. Add a Transform effect. To do this, navigate to Effects > Video Effects > Distort > Transform. Add this effect to your selected clip in the timeline.
Glitch effect
One of the most popular aspects of the glitch effect — outside of the effect itself — is that it requires no plug-ins with Premiere Pro. Also, you can use the glitch effect transition for all types of genres. For example, popular videography and photography YouTuber, Peter McKinnon often uses the glitch effect for his videos’ transitions. “Cloverfield” (2008) also used the glitch effect for some transitions.
You can create a glitch effect from scratch in Premiere Pro by following these simple steps:
- Select your clip.
- Split the clip using the Razor tool.
- Copy the clips.
- Use the Effect Control panel.
- Once you’re in the panel, find the Opacity setting and adjust its value to 50 percent. Then, navigate to Motion > Position and change the Position value so the duplicate overlay is no longer in line with the original. You can also adjust the scale values or try the Blend Mode to see what looks best.
Flicker effect
Flickering in video and film is a common problem resulting from certain frame rate and shutter speed combinations under artificial lighting. However, flicker effects can be used in tons of motion graphic transitions, such as title effects, color and font effects. To create this effect in Premiere Pro, all you have to do is cut away a few frames between the two shots you are transitioning between.
Masking transition
The masking transition can make for some intriguing, seamless shots. A masking shot either reveals or hides a portion of a video using a mask. So, say you have your subject walking across the frame. You can mask the background behind them, hiding it to reveal an entirely new location.
When masking an object in Premiere, the first step is selecting the object you want to mask. If you have several objects, hold down the Alt (Option) key and click on each one until you find the one that you want to mask out. You can also click on an object in the Layers panel.
After selecting your object, click on the Mask drop-down menu at the top of the screen and select Mask from its menu options. This option will open new options for creating masks.
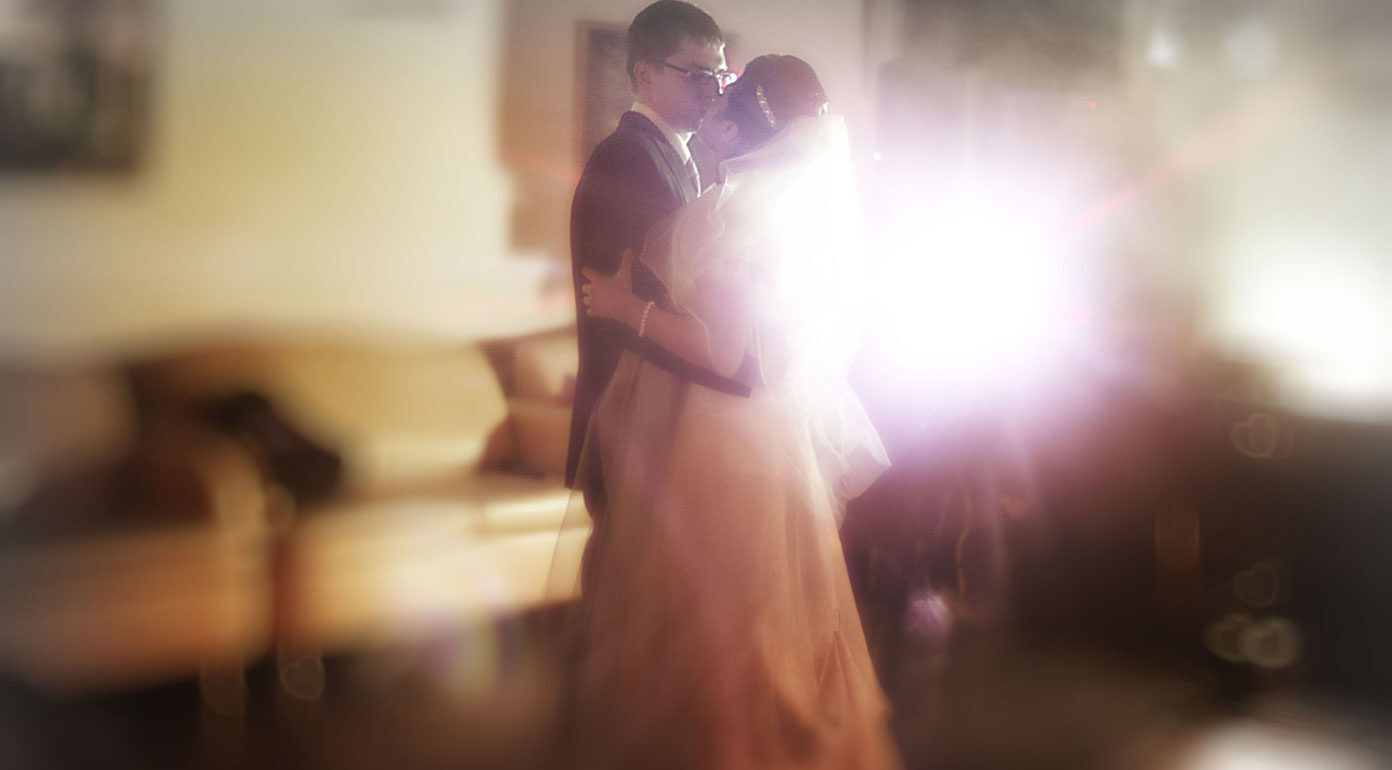
Overlays — light leaks and bokeh
Overlays are a great way to dress up and glamorize your footage. Many film and video creatives use light leak and bokeh overlays to give a shot or scene an abstract or depth-of-field look in the foreground or background.
Adobe defines bokeh as: “A technique that photographers and cinematographers use to create dreamlike and artistically blurred effects in photos or on film. Bokeh is a Japanese word meaning “blur,” but you often hear the term used to refer to the aesthetic quality of a blurred image or how a blurred image feels when you’re looking at it.”
What you’re doing with light leaks and the bokeh effect is adding an extra layer over your video without replacing the original image or scene. The light leak and bokeh effect adds an extra element and gives the footage a texture or feeling, making it more cinematic.
Try them out for yourself
Through practice and trial and error, you will learn how to master these six non-cheesy video transition effects. You may even discover other transitions that work for your style better. These are simply templates that you can choose to either use or not. Just because these transitions are good transitions for many projects, they may not be suitable for your project. For instance, if you’re shooting a historically-accurate Victorian period piece, the glitch effect likely won’t work for your film’s visual aesthetic. Great transitions usually don’t stick out. They’re meant to guide audience members to the next scene without removing them from the immersion. Poorly executed transitions will remind viewers that they are watching a movie.
There are tons of transition effects to explore. And while the transitions above will likely never go out of style, don’t entirely write off cheesy effects. Sometimes, they can be used to great effects, like injecting humor into a sequence. Remember, just because something is deemed bad, it may still work great for your video. It all comes down to your vision for your project.


