
How It all Began
Way back in the nifty 1950s, the television finally gained some traction. It took a few decades for TVs to find their way into most of our homes, though they were commercially available since the 1920s. Televised news broadcasts overtook the newspaper and radio as the principal news source for families. A new era of media-based tools and video technology was underway, paving the way for generations of future Videomaker readers.
In 1950, a year before the first video tape recorder was invented, a couple of crafty folks founded a company dedicated to advancing film and television. The idea was to build an active scrolling cue card system that could help the talent deliver lines on camera without being required to memorize large amounts of text in short periods of time.
The company they founded was called TelePrompTer, and what they invented was a mechanical device designed to scroll large printouts of a script in the vicinity of the camera in time with a speaker. Mechanical teleprompters took off, and talent, from U.S. presidents to talk show hosts, utilized them. They were used on television for decades, even as recently as 1992 on the Johnny Carson show, where they had resided since the show’s inception.
In recent years the advent of the LCD monitor has helped advance the teleprompter.
The idea with these mechanical teleprompters was fantastic, but there was one small problem—the talent couldn’t look at the camera and read teleprompters at the same time. This was fine for certain programs, but for shows like the evening news, they didn’t fit the bill.
That problem was short-lived. In 1953, Jess Oppenheimer, the creator, producer and head writer for I Love Lucy, needed his prompters to allow his stars to give testimonial-style commercials directly into a camera. We all know that eye contact implies sincerity, so the on-camera teleprompter was born out of necessity.
What Is It?
In its simplest form, the modern teleprompter is comprised of a few basic components. A monitor or tablet projecting an image of text, a place to rest that monitor or tablet, reflective glass held on an angle over the monitor and a hood to cover a video camera aimed through the glass. The hood’s job is to keep the camera in a completely dark spot so it doesn’t show through the glass and keep the camera lens from seeing the glass. Professional models have valuable features such as variable speed control remotes, which allow an operator to follow the cadence of the talent working from the teleprompter.
In recent years the advent of the LCD monitor has helped advance the teleprompter, allowing them to become smaller, lighter and more affordable. In much the same way, tablets such as the Apple iPad or Samsung Galaxy Tab have allowed budget conscious producers some even more accessible options, up to and including building a teleprompter from scratch to house a tablet.
The practice of building a teleprompter from scratch has become popular in the last few years, particularly because the parts aren’t terribly complex and the screens are becoming less expensive and more widely available. So, maybe we should build ourselves one for use with a tablet. There are plenty of nicely-built examples online to draw from, and this is one example adapted from a cool DIY prompter devised by J. Alan Meier of HeyJustJ. This rig is cheap, simple and looks decent enough to bring it to a client’s site. Plus, if it doesn’t suit your needs, a couple of quick searches should bring you some other options.
What You’ll Need
-
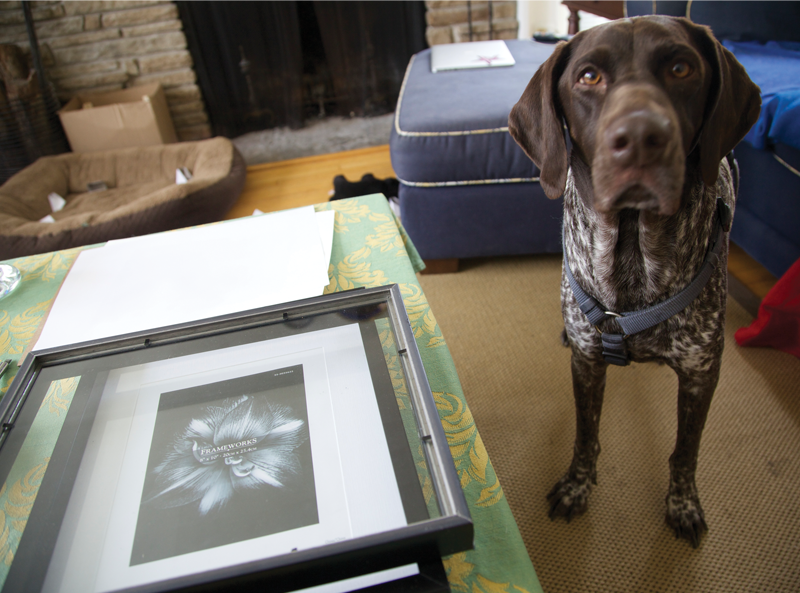
- A couple of cheap 8” x 10” plastic or wood picture frames–black, if possible
- Some Velcro
- A bit of .5” plywood–enough to fit inside an 8” x 10” hole
- Some black fabric
- Some wire coat hangers
- A large elastic band or small black bungee cord
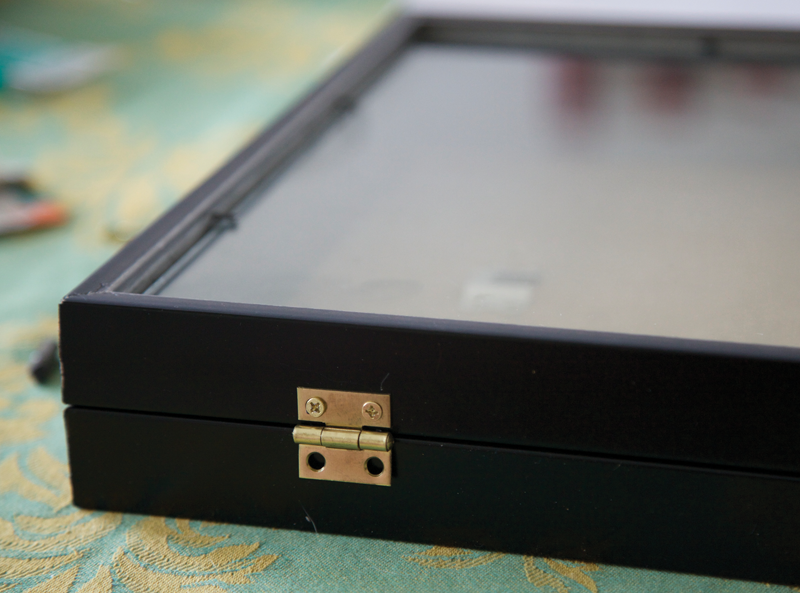
- Two small hinges with small screws
- Some strong glue, staples, finishing nails and any form of light adhesive
- Drill, screwdriver, tape measure
Optional: an 8” x 10” piece of real teleprompter mirror (beam splitter mirror)–about $45 from telepromptermirror.com
Step One – Prep the Frames
Take the two picture frames and remove the cardboard backing and that sweet sample shot the manufacturer sticks in there.
For the frame that will become the tablet tray, remove the glass, and then glue, screw and/or nail the 8” x 10” piece of wood into the bottom of the frame so that it is flush with the bottom of the frame and leaves a lip on the top side. Be careful not to split or break the frame if you choose to nail or screw it in.
Screw a 15mm rail block onto the bottom of the wood to allow the teleprompter to mount to a tripod rail system. Alternatively, it’s possible to find a ¼” or 3/8” threaded wood insert, which can accept a tripod head or plate. The rail system is preferred because a camera can mount to the same set of rails as the teleprompter and remove the need for a second tripod, but both methods work fine.
For the frame that is to act as the reflector, if you decided to go with a real prompter mirror, insert it now.
Use the frame’s small wire restraints, which usually lock in the cardboard and glass to now just lock the glass in place.
If you choose to skip using the snazzy teleprompter mirror, the original glass from the picture frame will work, but won’t reflect quite as well.
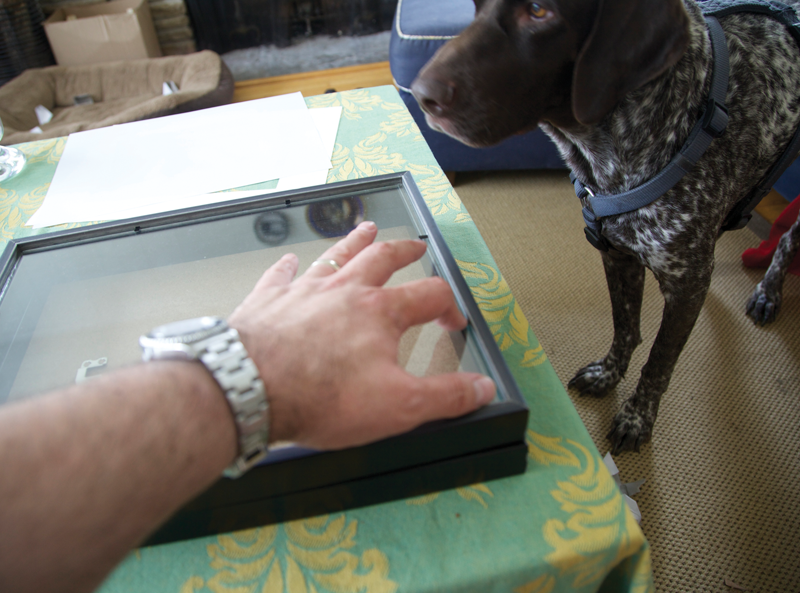
Place the lower tray, opening-side up on a table or workbench and center the second reflector frame, glass-side down on top of the lower tray.
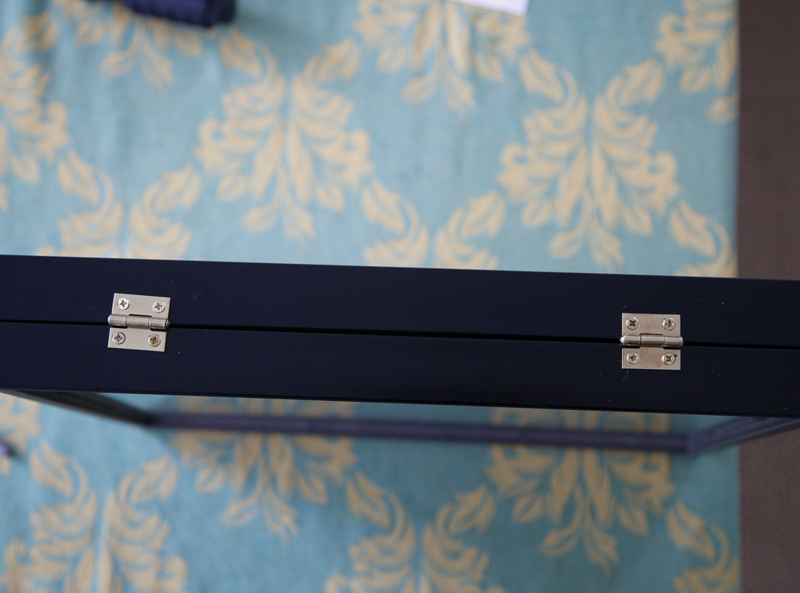
On what is to be the hinged side, screw a hinge onto either side of the top frame and then screw the hinges into the lower frame. Using small screws there shouldn’t be an issue with splitting the frame.

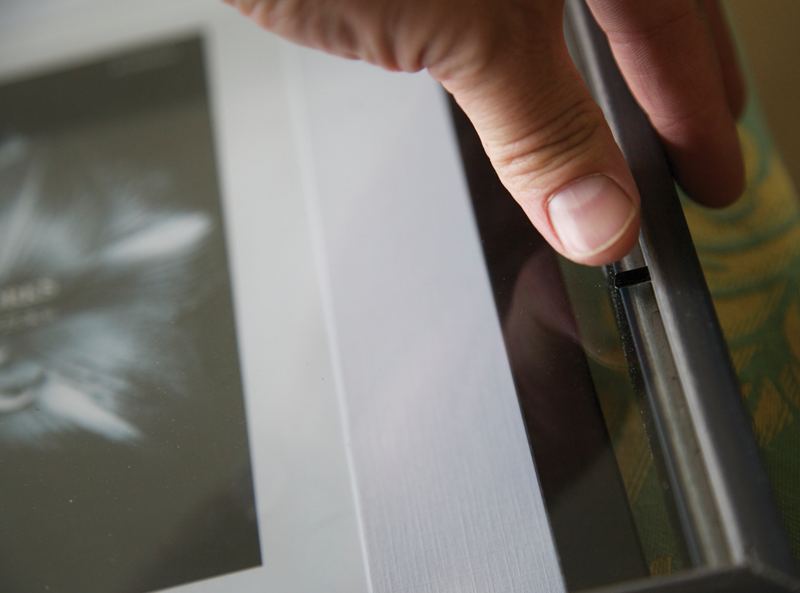
Take a couple of snipped pieces of a wire hanger to create small braces for the teleprompter. Pieces of equal length around 7-8” should do the trick–they’re easy to trim later on with wire snippers. Bend each end of both of them 90 degrees so they can fit in the holes drilled in the frames.
Drill holes just large enough for the wire braces along the sides of the upper and lower frames. Match them up on either side by measuring before drilling.
Test out the angles you’ll get using the braces and add extra holes to allow for different setups. To keep the wire braces from popping out of the holes, slide a large elastic band around the lower frame and slide it up until it covers the braces and keeps them in place.
Step Two – Finish ‘er Off
Now it’s time to put a hood in place.
First of all, take your fabric, blankie, shirt or sheet – whatever you chose to use – and cut it into a piece large enough to wrap 3/4 of the way around the teleprompter and hang far enough back to fully cover whatever kinds of video cameras you might put in there. If this is going to appear in front of clients, hemming rough edges with a sewing machine isn’t a bad idea.
Take some small rectangles of Velcro and stick them to the top edge of the reflector frame as well as one piece on each side of the base frame about 3/4 of the way toward the front of the teleprompter. Some Velcro comes with a peel off adhesive side, which is great, but if it doesn’t, use strong glue or a staple gun to lock those pieces in place. In fact, it’s not a bad idea to toss a staple or two in each piece just to be sure.
Match up the opposite Velcro piece on the hood material affixed using staples then attach the hood to the teleprompter so that it sticks smoothly along the top frame and covers the sides of the device by sticking to the bottom frame Velcro.
As a precaution, it’s recommended to put Velcro on the back of the tablet and into the tablet tray to lock it in place. Some people may choose to skip this step, but it never hurts to protect an investment.
There are plenty of variances that can be made to this design, but this guide should help with getting started. If this is a bit daunting, there are other options to get a tablet close to the camera. You can purchase mounts that attach to a microphone stand to hold a tablet in place. If the talent stands far enough from the camera, it’s still possible to read off-camera without being too noticeable.
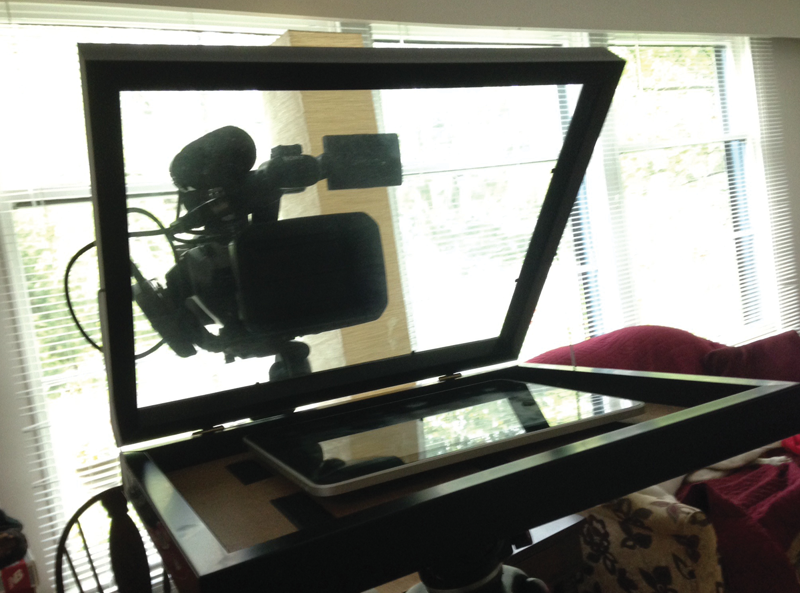
Getting Rolling
To use this new wonder, open the teleprompter and lock it in place with the braces and elastic band, sit a tablet in the tablet tray within the bottom frame, mount a camera to the rails the teleprompter is mounted to and pull the cover back over the lens.
Then there’s direction for the speaker. Experiment shooting at different distances from the teleprompter to see how noticeable eye movement is. The further away from the camera the better, but there will be a distance where either the framing is off or the speaker can no longer read the teleprompter.
It’s been fun building a teleprompter, and it’s all ready to shoot with, but there’s a bit more to it. Placing a tablet into the prompter is half the battle, but how does that text file, Word document or PDF make itself seen on the prompter glass and scroll automatically?
Like most things, there’s an app for that. Plenty of them, in fact.
What’s App, Doc?
Whether using iOS devices or one of the myriad devices running Android, there are quite a few decent options for prompting software. The best apps will allow for use of a remote control, adding a professional touch into the mix.
Teleprompt+ for iPad is pretty much the industry standard teleprompter app for iPad. Text can be imported from Dropbox or Google Docs, or entered directly in the app. Text can be mirrored so it appears properly on the teleprompter, and the speed of text playback can be controlled on the iPad itself or on another device on the same network. If using the iPad to VGA adapter, the text can be output to an external device, which would prove handy for the teleprompter operator.
Other notable iPad prompting apps include Teleprompter Pro, Prompster Pro, iQPrompter, Prompterous and ProPrompter.
For Android devices there are similar options. PromptWare Plus covers all of the same bases as Teleprompt+, with portrait or landscape text scrolling. Mirrored text is also in there, of course, as well as an option to control speed with a custom wireless remote.
Other notables in the Android market are Android Prompter, VisioPrompt and EZ Prompter. A version of Prompterous is also available for Android.
Prompting a Conclusion
DIY projects are fun and rewarding, and in some cases they can solve a problem. Building a teleprompter and working from it can be a valuable exercise for a number of reasons, primarily by allowing videographers to gain great experience and expertise with the device before showing up to a client site, or before dropping major dollars on a prompter purchase. Is a DIY solution perfect for every job or in place of a professional teleprompter and operator? Not really. It’ll work perfectly for personal videos, but for professional gigs it is recommended to use a professional teleprompter and a separate operator, to keep camera operators and directors focused on operating the camera.
Russ Fairley is the owner of Russ Fairley Productions Inc., a turnkey video production company. He also founded After Effects Toronto and hosts RFShow.TV.


